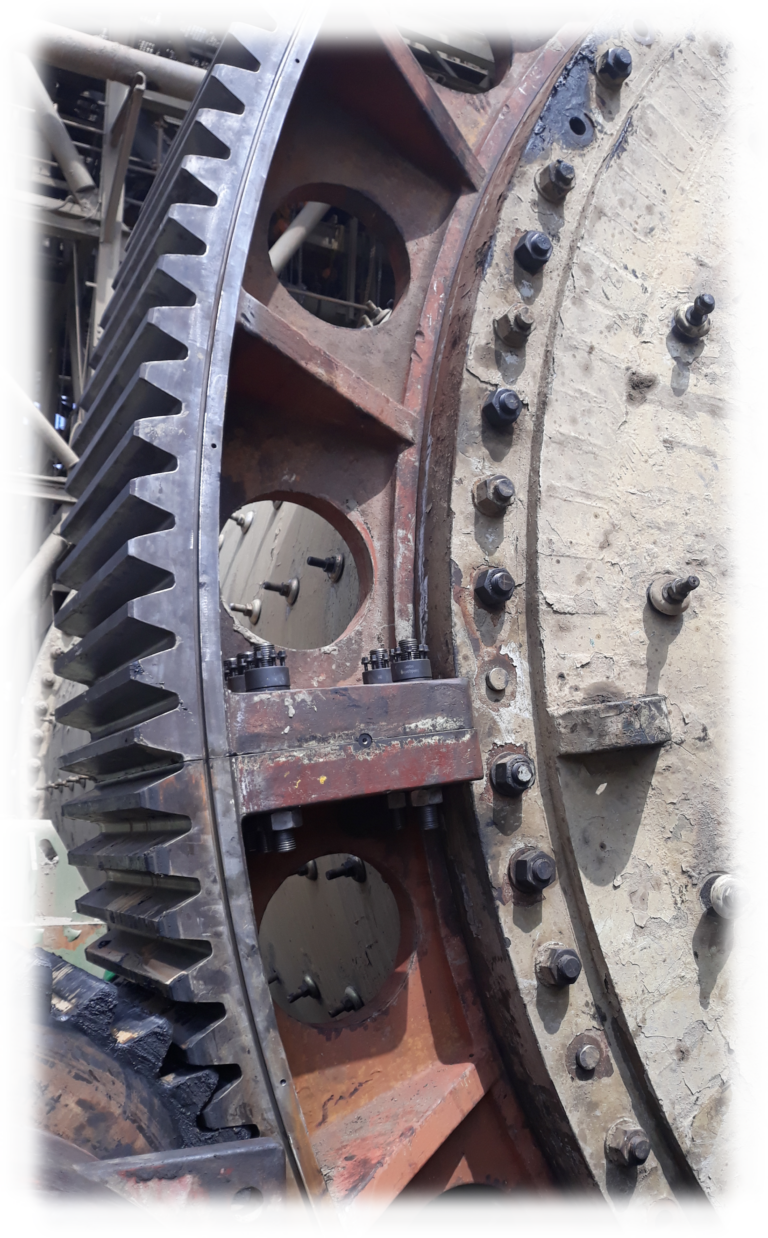
girth gear failures.
effective solutions require a focus on the "real" root cause

Insurance Inspections: Misplaced Focus
Girth Gears must remain without damage to ensure the continuous operation of processing plants. The failure of just a single gear tooth could result in the immediate total shutdown of the driven equipment. To make matters worse, if the condition is severe enough and if a spare gear isn’t on hand, this unfortunate "business interruption" can extend for months until a replacement is manufactured and installed. It’s therefore no wonder that Owners and their Insurance Providers place so much emphasis on regular NDE inspection of these critical components. However, they're often not aware that there is a more effective alternative which could prevent many near-catastrophic failures from happening in the first place...
Girth Gear Inspection Standards
ANSI/AGMA 1010-F14, published by The American Gear Manufacturers Association is an impressive standard which identifies and describes the classes of common gear failures and illustrates degree of deterioration. These typical modes of gear failure are grouped into seven general classes including:
- Wear
- Scuffing
- Plastic deformation
- Hertzian fatigue
- Cracking
- Fracture
- Bending Fatigue
The main body of the document goes into extensive detail about each of these modes. What is quite poignant is Appendix A.2 which, as an apparent mere footnote, deals with “misalignment”. It states:
“Misalignment is not a failure mode but may be the root cause of many failure modes such as:
- Adhesion
- Scuffing
- Plastic deformation
- Hertzian fatigue
- Fracture
- Bending Fatigue”
It goes on to say: “Misalignment may result in end loading of the teeth, increasing the stresses in that section of the teeth and thereby increasing the risk of failure.”
Clearly, this second list is almost identical to the first. The take-away is that proper alignment is absolutely crucial to the reliability of large gear sets.
Initial Alignment
Whenever Girth Gears are installed, swapped or flipped, great effort and care is taken to align the gear to the shell within acceptable axial and radial run-outs. Once those tolerances have been attained, the bolts are fully torqued before pinion alignment begins.
It should be obvious that accurate and adequate fastener tightness is a fundamental requirement to ensure that the gear remains aligned. Notwithstanding the risk of fatigue failure and slurry ingression, insufficient flange and pinion bolt clamp load facilitates misalignment.
It doesn't take much movement but when it happens, conditions become ripe for debilitating failures to develop.
Bolt Tightness
If the gear flange bolts have been torqued properly to the OEM's specifications using calibrated torquing tools, there shouldn't be any concern, right? Wrong…
The Danger of "Torque"
Bolt “torque” is not an effective metric when defining bolt tightness. It’s only an indication of how much force is applied when trying to turn a nut (or bolt head). The resultant clamp load of this effort is that which keeps components together. The two are vastly different and rarely linear. In fact, the relationship between applied torque and residual clamp load is highly dubious at best. When this isn't fully understood and addressed, affected equipment runs under a dangerous false sense of security with potentially catastrophic results. To illustrate:
Properly torqued but too loose...
hevii was engaged on an installation project to manage the QA of the bolting procedure during construction. The company was tasked to ensure that the stress of each fastener was in compliance to the OEMs designed bolt load requirements, regardless of input variables. During the torquing of the first bolt, an abrupt stop in bolt stress accumulation was noticed before the target value could be achieved. The client's millwright stated that the hydraulic torque wrench pump had ”maxed-out”.
As the first thought was that the nut had galled onto the stud, the fastener set was disassembled to check for damage. The nut came off without a problem and the threads were undamaged. However, it was noticed that the mill contractor had only lubed the bolt threads during initial assembly; the surfaces underneath the washers, head and nut were dry. After applying a sufficient coverage of moly, tightening resumed. It wasn’t long before the correct clamp load had been reached - well within the pump’s capacity and hence, at a much lower applied torque.
What’s important to understand is that had hevii not been there to support the project by monitoring and controlling the load, the gear would have been assembled dangerously loose even though the fasteners were torqued to the specified value. It's not a far stretch to say that many installations are currently operating under tenuous conditions like this. For some, it may be "good enough". For others, it's only a matter of time before conventional NDE inspections discover the ugly consequenses of such problems.
"Out of sight, out of mind"
Even if bolts are properly tightened at assembly, there is always a risk of load loss and load migration while in service. During annual inspections it’s not uncommon to find that a number of flange fasteners had relaxed to a level below the OEM’s minimum recommended clamp load.
Unfortunately, many facilities are unknowingly and unintentionally operating in the dark because important fastener preload inspections and preventative corrective adjustments aren’t being done. It’s unfortunately ironic that whereas regular annual NDE inspections are mandated so that latent gear failures can be identified after they occur, unbiased expert “Check & Tune” interventions which can prevent such failures from happening in the first place, usually aren't implemented. Those charged with the reliable and continuous operation of large mills who don’t have their fastener preloads verified regularly may wish to consider a different approach.
On-site Verification. Our speciality.

